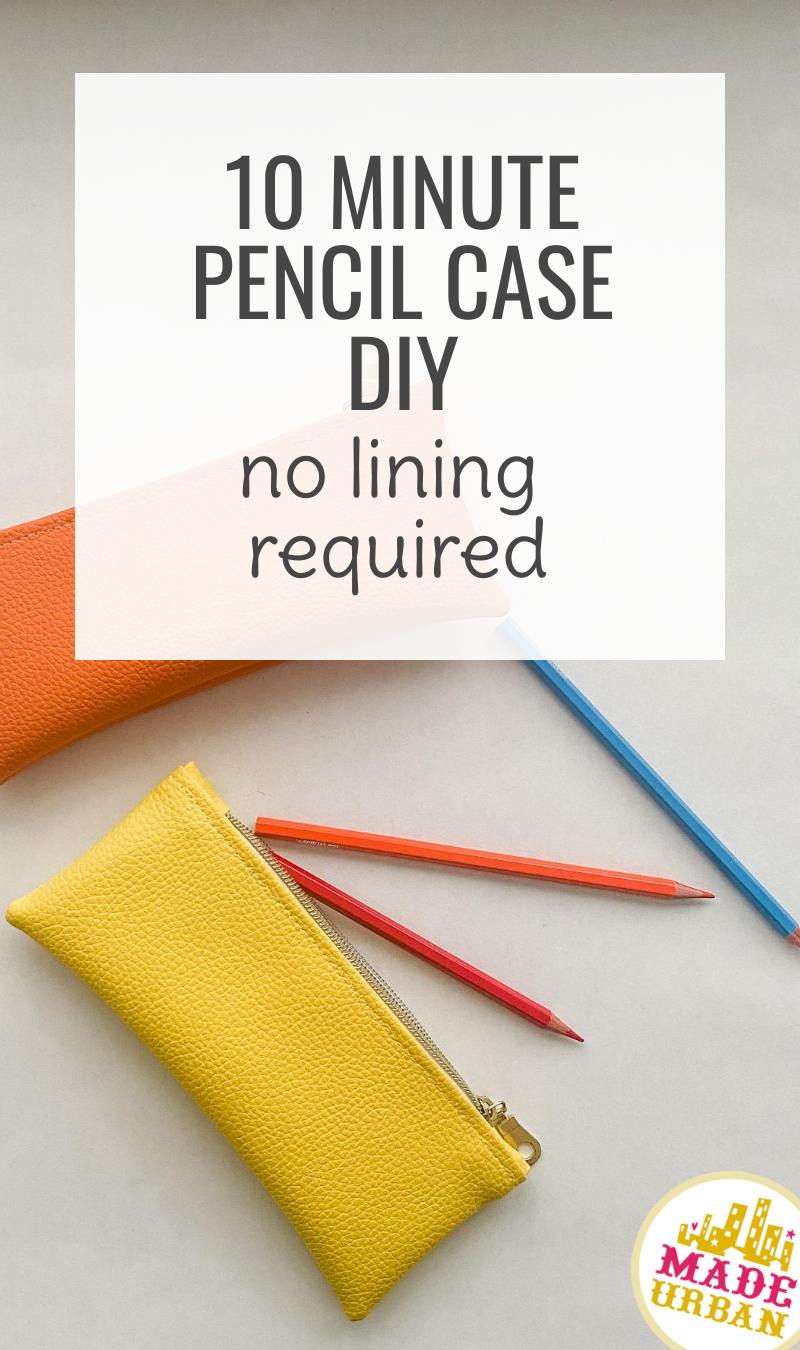
10 Minute Pencil Case DIY (No Lining Required)
This DIY project is quick and easy and uses minimal materials so it may be a good item to add to your Etsy shop or craft show table (depending on your target market and current product line).
You can easily alter the size of this pouch. This one is 8″ x 3″ once finished.
Materials
- Vinyl – I like to use vinyl because you can easily wipe off marks, it’s durable, and the edges don’t fray, so you don’t need a lining. However, you can add a lining to this project if you like.
- Thread
- Zipper – 8″
Tools
- Sewing machine
- Scissors/rotary cutter
- Ruler
- Point turner tool (to push corners of pouch out)
*This pattern uses a 5/8″ seam allowance.
How to sew a pencil case video:
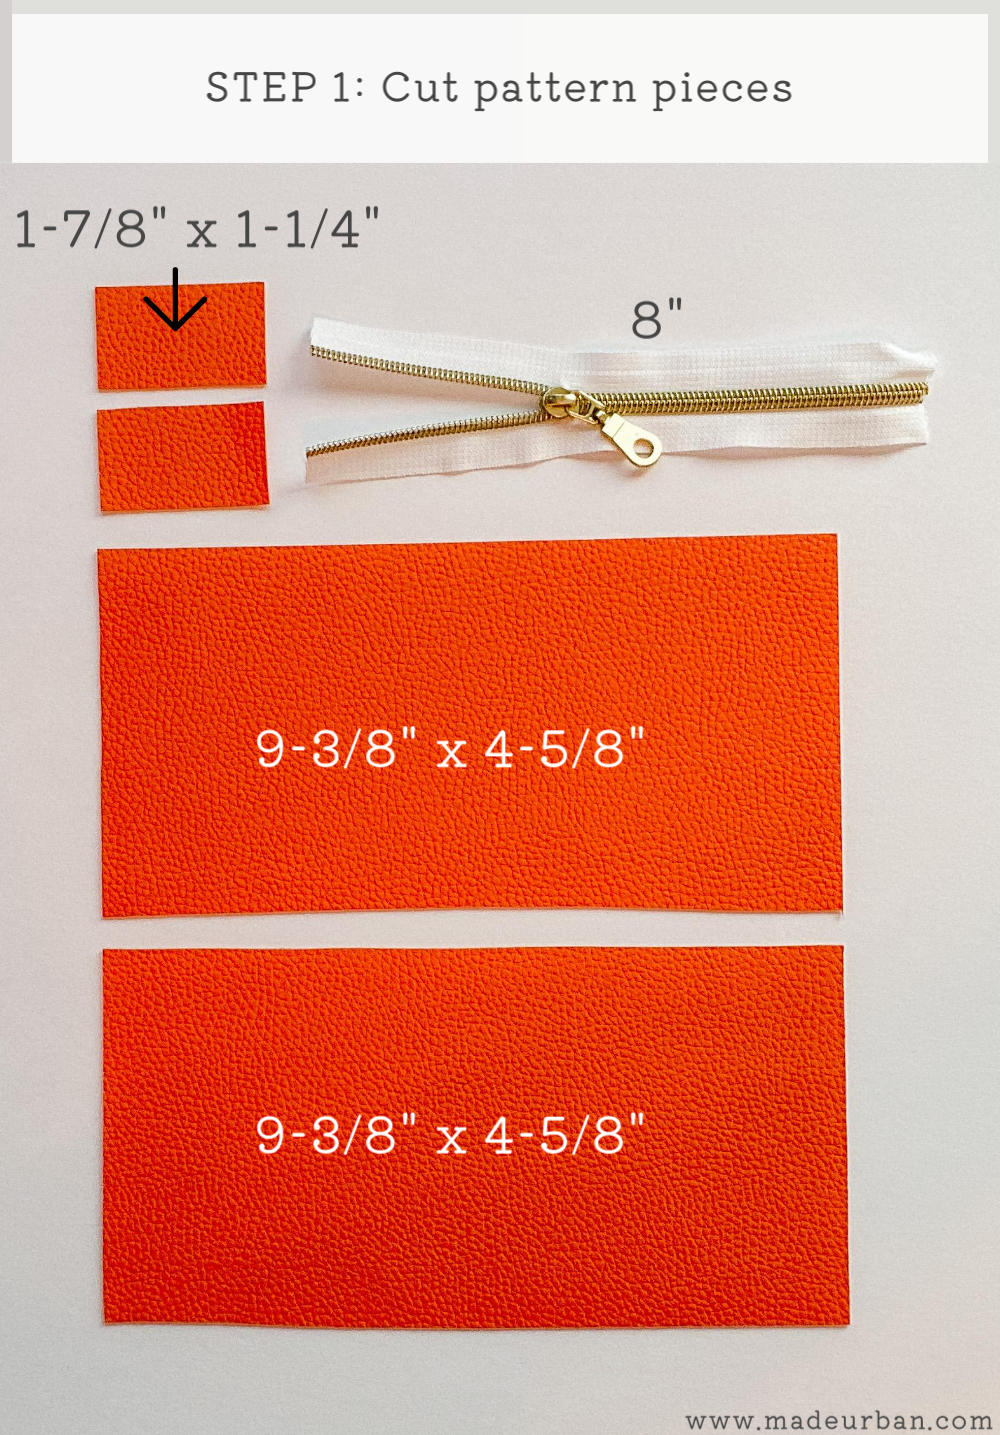
Step 1 – Cut pieces
For this project, you’ll need:
- 2 pieces of vinyl that are 9-3/8″ x 4-5/8″
- 2 pieces of vinyl that are 1-7/8″ x 1-1/4″
- 7-1/2″ zipper – I like to use zippers you can cut to size, but you can cut any plastic zipper to size. The vinyl tabs will keep the zipper pull on once the pouch is finished.
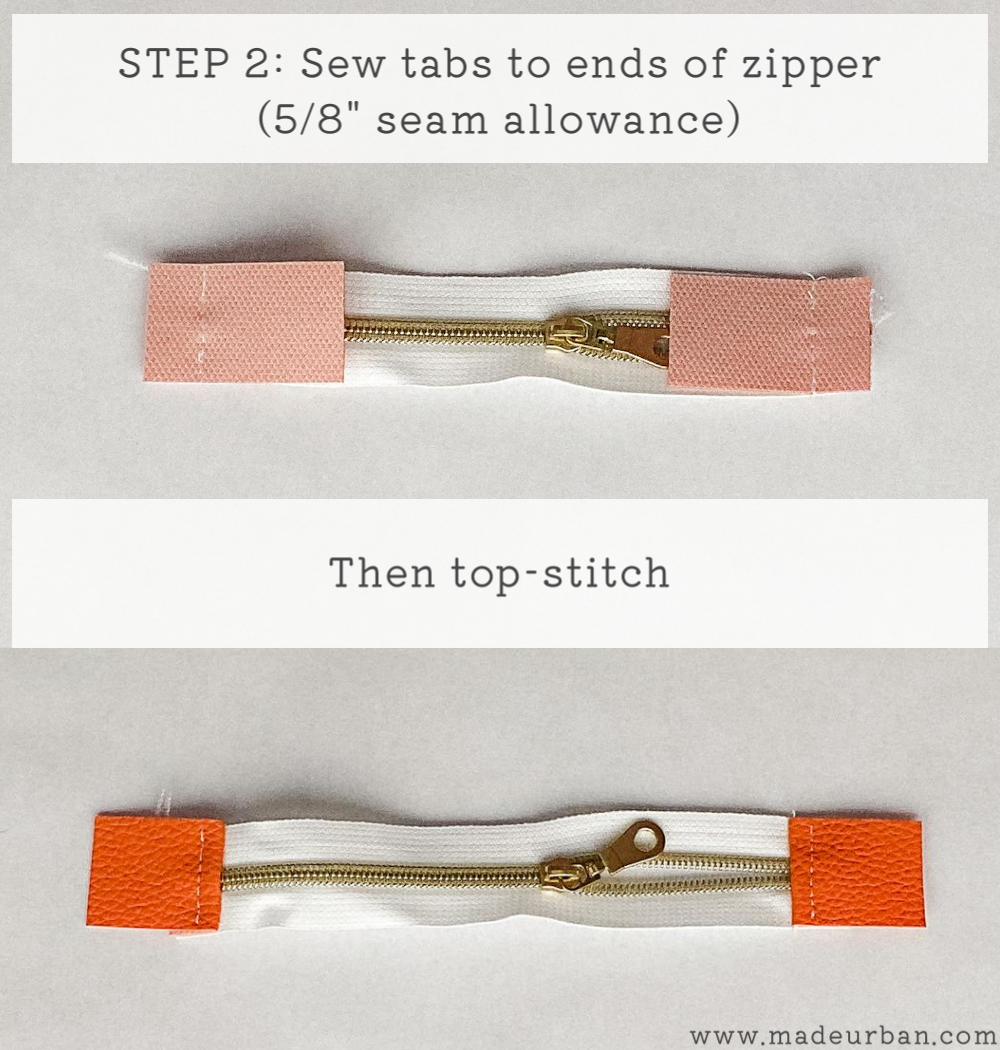
Step 2 – Sew vinyl tabs to the ends of the zipper
I find that the vinyl tabs give the top of the pouch a cleaner look.
Line up the end of the vinyl tabs with the ends of the zipper; right sides together.
Stitch in place with a 5/8″ seam allowance.
Fold the tabs back and top stitch in place.
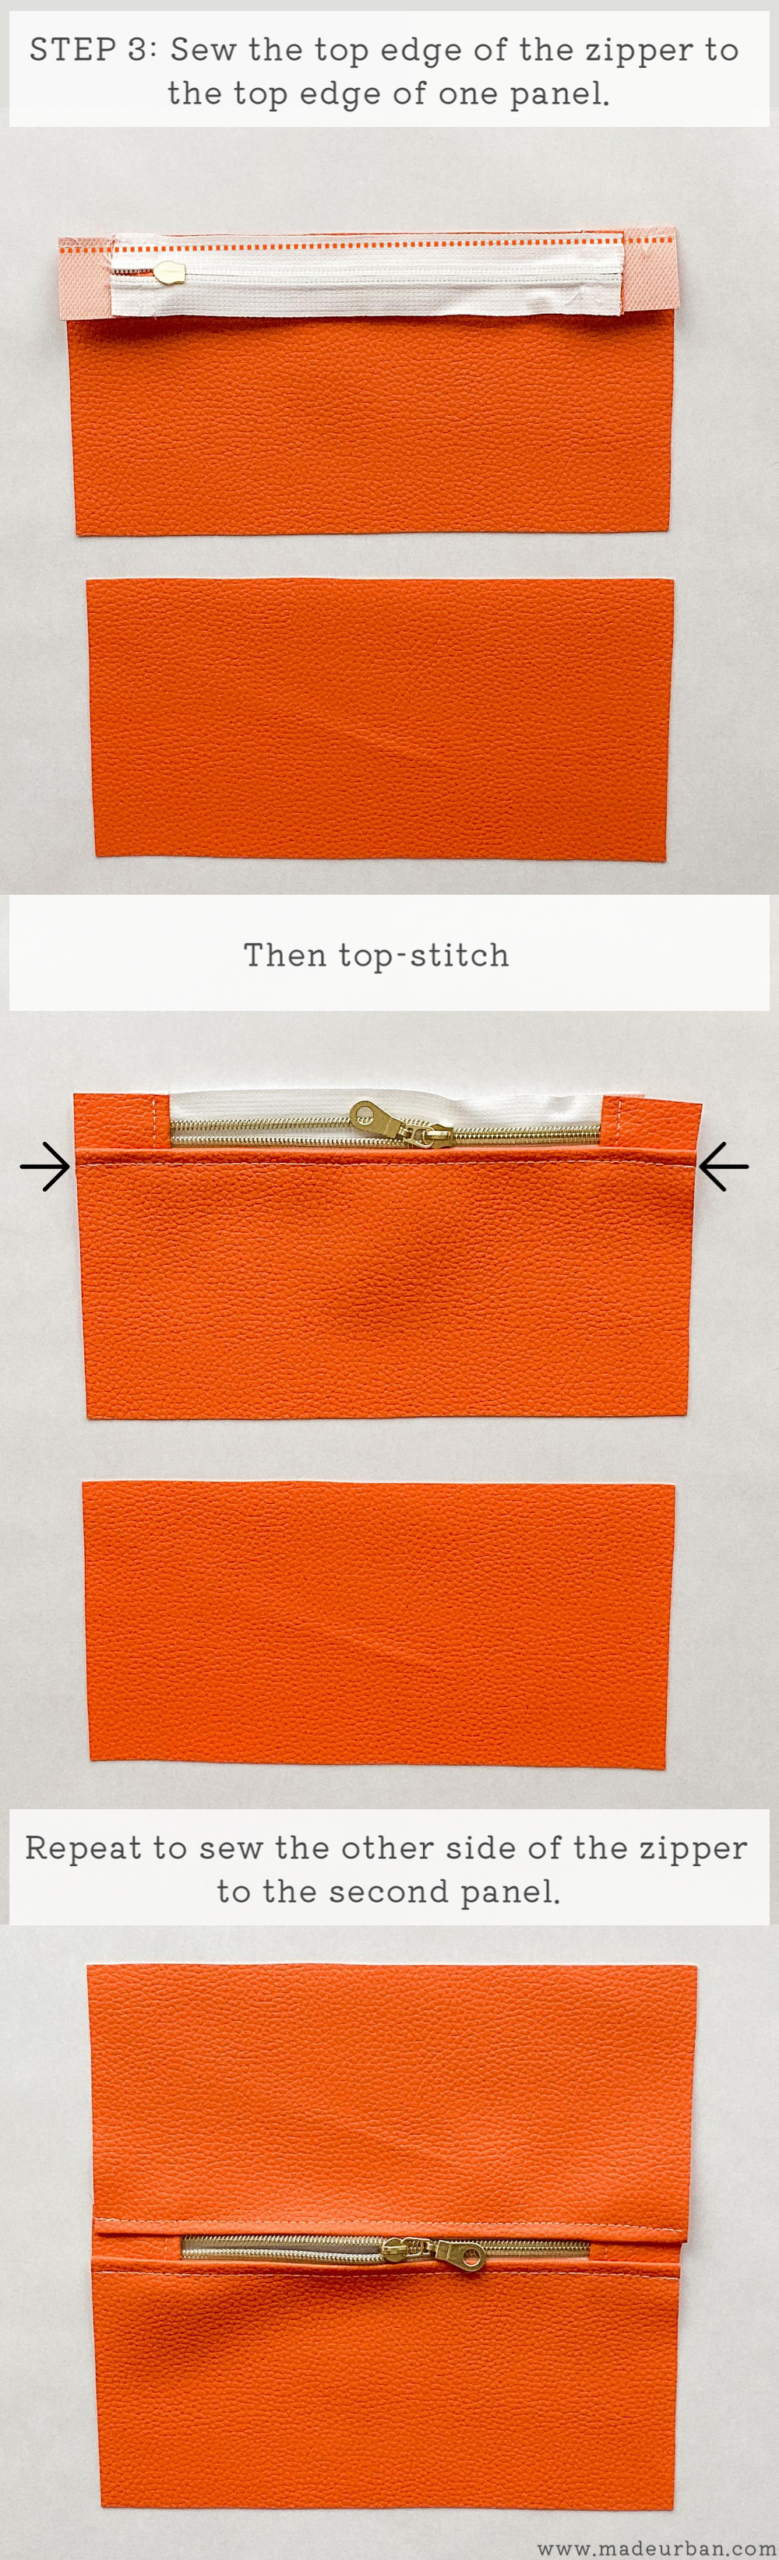
Step 3 – Sew zipper to panels
Sew the top edge of the zipper to the top edge of one of the panels; right sides together.
Then flip the panel back and top stitch.
Repeat for the bottom edge of the zipper sewing it onto the top edge of the other panel, then top stitch.
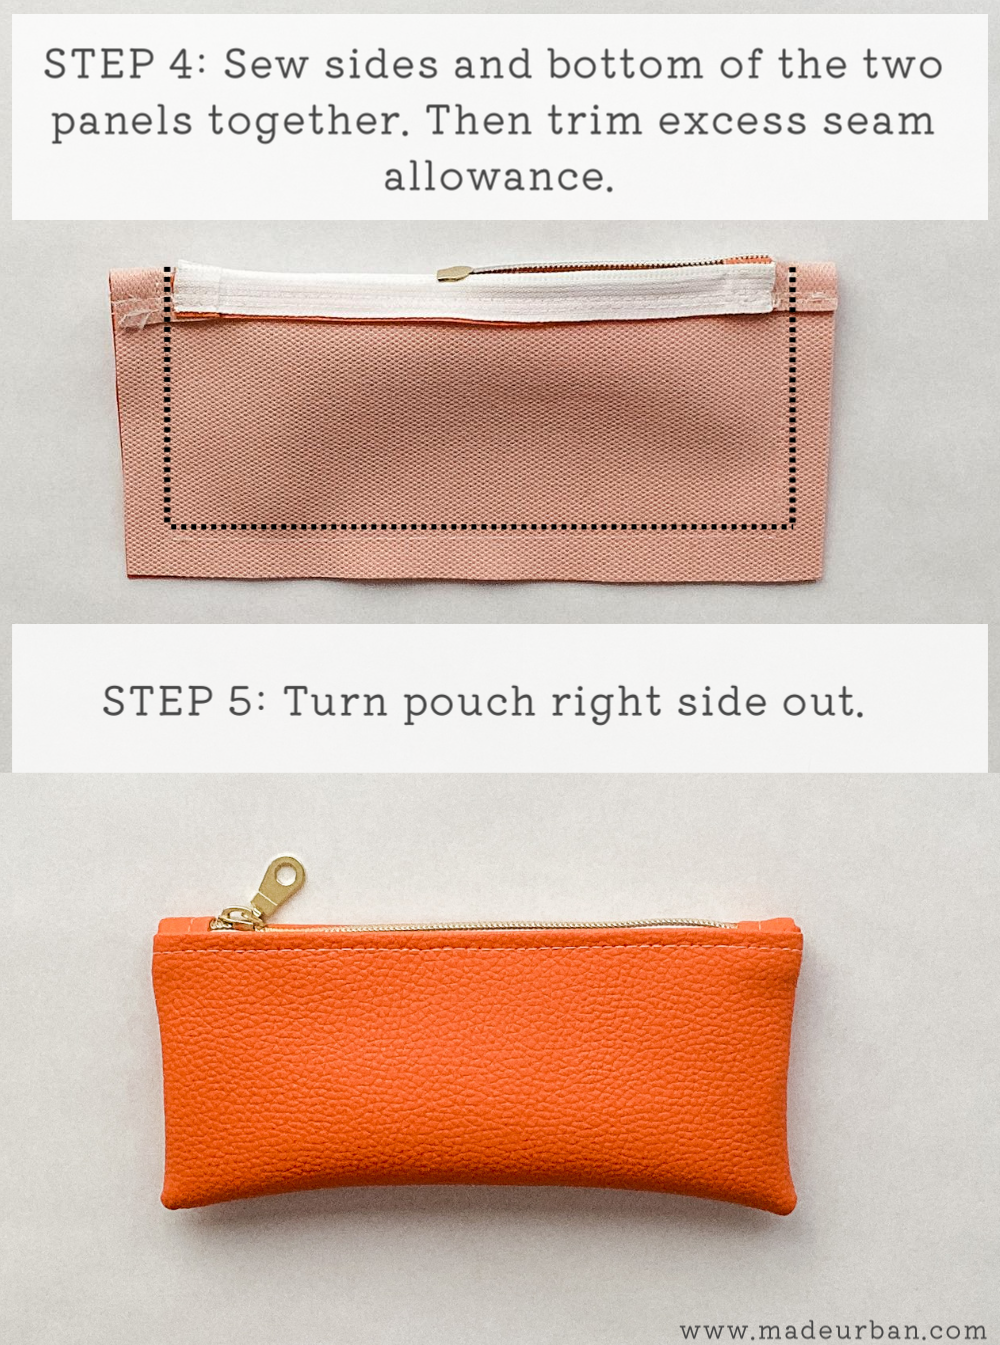
Step 4 – Sew pouch edges
With right sides together, sew the sides and bottom of the pouch using a 5/8″ seam allowance.
Then cut away excess seam allowance to remove some of the bulk.
Step 5 – Turn right side out
Turn your pouch right side out and use your point turner to push the corners out.
This is a quick and easy sewing project and would be a great product to make and sell if you’re starting an Etsy business or plan to sell at craft shows.
You could expand out into other shapes and sizes of pencil cases, laptop cases, lunch bags, and other school-themed bags.
Here’s a quick and easy vinyl lunch bag: Simple Lunch Bag DIY (that’s water-resistant)
And this article explains how to develop a product collection and uses school-themed bags as an example: 5 Steps to Create a Product Collection that Sells

Hey, I’m Erin  I write about small business and craft show techniques I’ve learned from being a small business owner for almost 2 decades, selling at dozens of craft shows, and earning a diploma in Visual Communication Design. I hope you find my advice helpful!