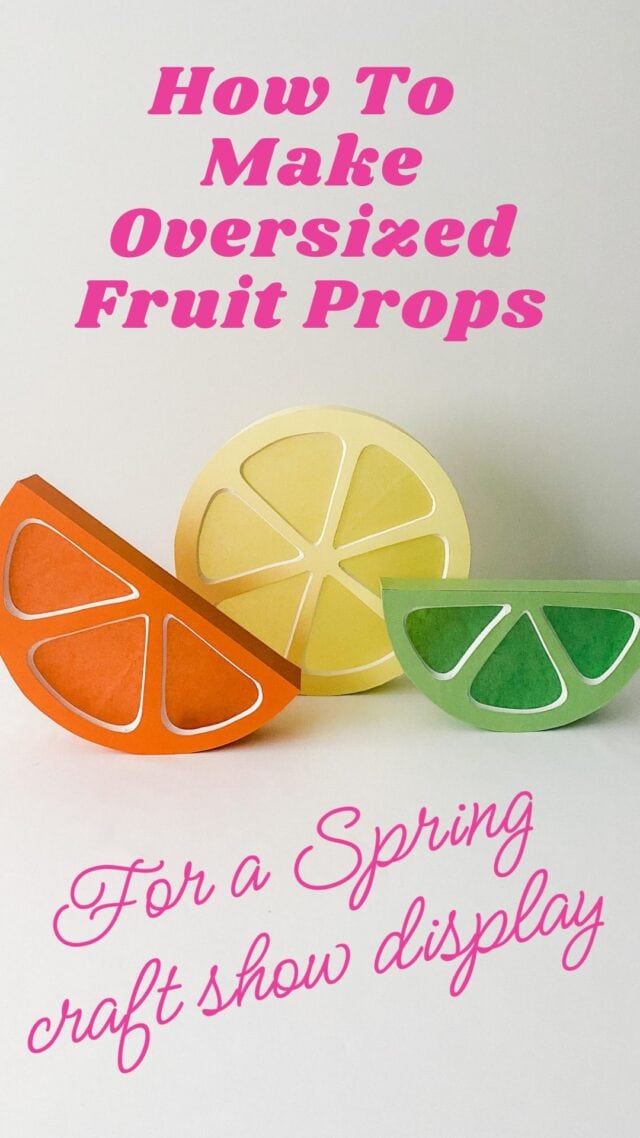
How to Make Oversized Fruit Props for a Craft Show Display
These citrus fruit slices are a good prop to add an eye-catching element to a craft show display.
The colors are perfect for a Spring display or to communicate a “fresh” and “energizing” brand or product collection.
A bath and body vendor may create props like this to communicate their citrus scents.
The shapes and colors can be adapted to create other fruits (e.g., watermelon, apple, or peach slices).
*This article includes affiliate links, meaning I get a commission if you decide to purchase through my links, at no cost to you. Read full disclaimer here.
These are simple to make however, my first one didn’t turn out as well as my second and third. A couple of tips to avoid the mistakes I made on my first round:
- Go heavy with the glue stick to ensure your craft paper sticks well to your foamcore. I ended up buying this extra-strength glue stick, which worked way better.
- Cut the craft paper circle just slightly bigger than your foamcore circle, as this will give you a cleaner look from the front.
- Take your time when cutting out the fruit segments to ensure you get clean lines. You can clean them up with your X-acto knife.
- Use a sharp blade
Here’s a video to help explain the steps:
Materials
- Foamcore (I buy these 22″ x 28″ boards, but you can also find them at most craft supply stores)
- Craft paper (in two shades of your chosen color, or you can use tissue paper)
- X-acto knife
- Glue stick (This one has good hold)
- Glue gun
- Ruler
- Pencil and eraser
Important
When using your X-acto knife, keep the hand you’re not cutting with out of your cutting path in case the knife slips out of the foamcore.
Step 1 – Cut out foamcore circle
Use a circular object such as a plate, garbage can, or pot to trace a circle, or half circle, onto your foamcore board. Cut out that shape using your X-acto knife.

Step 2 – Glue craft paper to foamcore circle
Use a glue stick to apply one color of your craft paper to the foam core circle. Be generous with the glue to get good adhesion.
Trace around the foamcore circle with your X-acto knife to cut the craft paper in the circle shape.

Step 3 – Trace and cut fruit segments
Use a pencil to sketch the shapes of your fruit segments onto the craft paper. Then cut those shapes out using an X-acto knife.
Erase any pencil marks left on the paper.

Step 4 – Glue craft paper to the back of the fruit circle
Glue a different shade of craft paper, or tissue paper to the back of the circle using a glue stick.
Don’t glue right up to the edge of the circle.
You don’t want glue or craft paper around the very edge of the circle, as your side panel needs to be glued directly to the foamcore circle (not to the craft paper).
Cut off excess craft paper.

Step 5 – Create fruit sides
Cut a strip of foamcore. The length should be equal to the circumference of your circle and the width should be wide enough to allow the fruit to stand on its own.
I cut my strip 2″ wide.
Using your X-acto knife, score lines along the length of your strip.
Then snap along those scored lines.
Now your strip of foamcore will be able to curve along the circle.

Step 6 – Glue the side panel and circle together
Working in short sections (so the glue doesn’t cool/dry before you get to it), use your hot glue gun to glue the scored strip to the back of the circle.

Step 7 – Cover sides with craft paper
Measure the width of your fruit (the thickness of your foamcore circle plus the width of your foamcore sides) then cut strips of your craft paper in that width.
Use your glue stick (be generous with the glue) to attach those paper strips around the sides of your fruit.

Use different colors of craft paper to make lemons, oranges, lines, or grapefruit.
Please share a photo on social media and tag @madeurban if you try this project! 🙂

Hey, I’m Erin 🙂 I write about small business and craft show techniques I’ve learned from being a small business owner for almost 2 decades, selling at dozens of craft shows, and earning a diploma in Visual Communication Design. I hope you find my advice helpful!