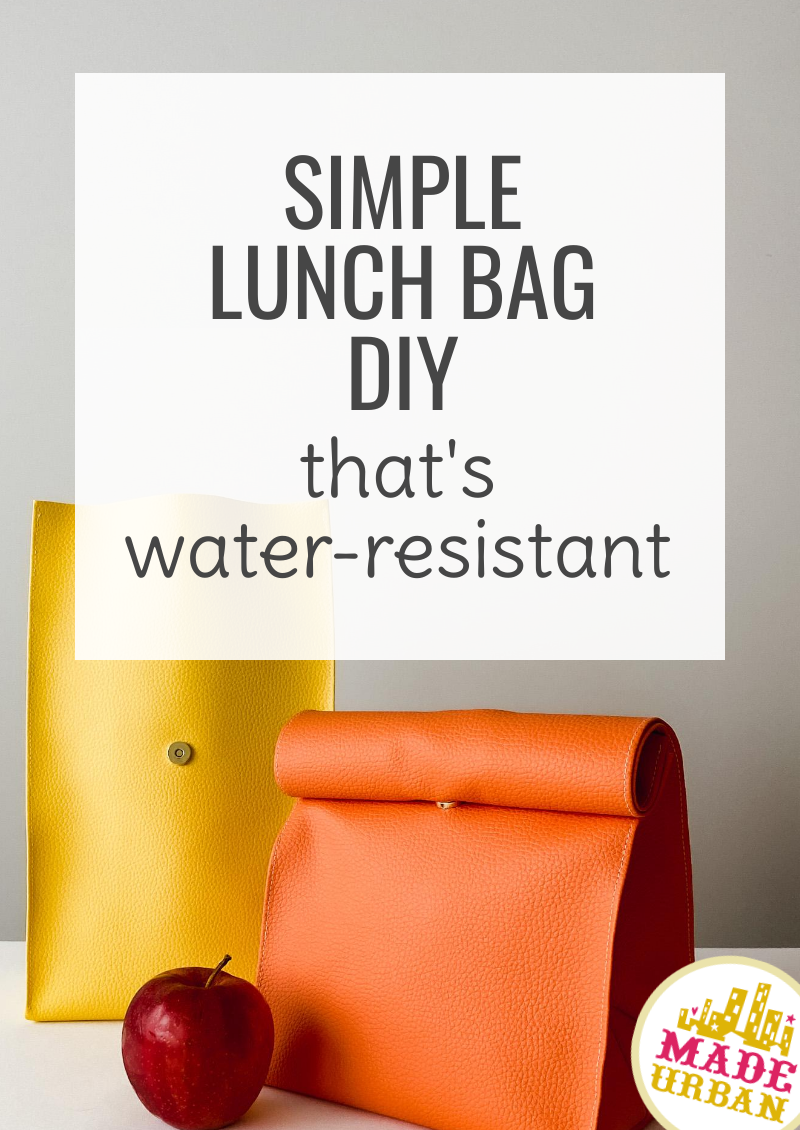
Simple Lunch Bag DIY (that’s water-resistant)
I love working with vinyl because you don’t have to serge edges and often don’t need to line your bags.
Vinyl works great for a lunch bag because the outside and inside are wipeable (perfect for cleaning up spills) and it’s durable, so your lunch bag will look like new for years to come.
Sewing with vinyl does have a bit of a learning curve, so I’ve included some tips below.
Tips for sewing with vinyl
If you have an industrial sewing machine with a walking foot, sewing vinyl will be a breeze. But if you’re like me and are working with a regular sewing machine (while you save up for a Juki;), here are a few tips I’ve learned along the way:
Type of vinyl matters
Some vinyls are easier to work with than others, so it’s best to shop in-store or order a sample before committing to several yards.
-
- Vinyl backing – look for a vinyl with a PVC/polyester backing. Some vinyls have a fuzzy felt backing or other material that can be harder to work with, and won’t leave the inside of your bag wipeable.
- Creasing – scrunch the vinyl in your hand and see how it looks when you release it. Some vinyls crease easily and don’t release.
- Stiffness/thickness – you want the vinyl to be sturdy enough to add structure, but if the material is too stiff or thick, it’s harder to sew.
Sewing Feet
-
- Good – add a piece of scotch tape to the bottom of your sewing foot
- Better – teflon sewing foot or roller sewing foot
- Best – walking foot
Presser foot pressure
Your sewing machine should have a dial that allows you to increase or decrease how much the sewing foot presses down on the material as you sew. If you have this set too high (pressing down too much), it tends to stretch the top layer of vinyl as you sew, leaving you with mismatched edges.
My tension settings go from 1 – 4 and I find 2 gives me enough tension that the fabric doesn’t move too much as I sew, but not so much that it stretches the vinyl.
Test sewing two scrap pieces to get the right tension.
Smaller stitches
With the presser foot tension looser, keeping your stitching lines straight is a bit harder. If your fabric shifts off-course while sewing, the shorter stitch makes it less noticeable.
Supplies for a vinyl lunch bag
- Vinyl (30” x 14” piece)
- Thread
- Magnetic snap
Tools
- X-acto knife (to score vinyl for magnetic snap)
- Scissors or rotary blade
- Measuring tape/ruler
- Pencil or fabric marker
- Sewing machine
How to make a vinyl lunch bag
Please note, this pattern uses a 5/8” seam allowance.
Step 1 – Cut your vinyl pieces
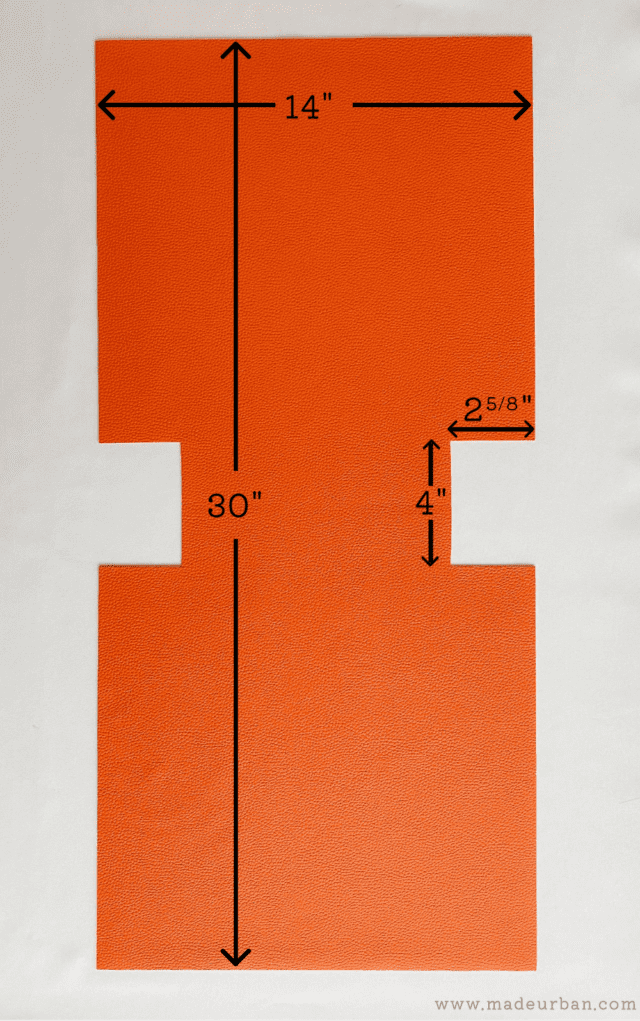
Cut a piece of vinyl to size; 30” long x 14” wide.
Fold the material in half lengthwise and cut a square out of the bottom corners; 2” high by 2-5/8” wide (unfolded, the notches will be 4″ high by 2-5/8″ wide).
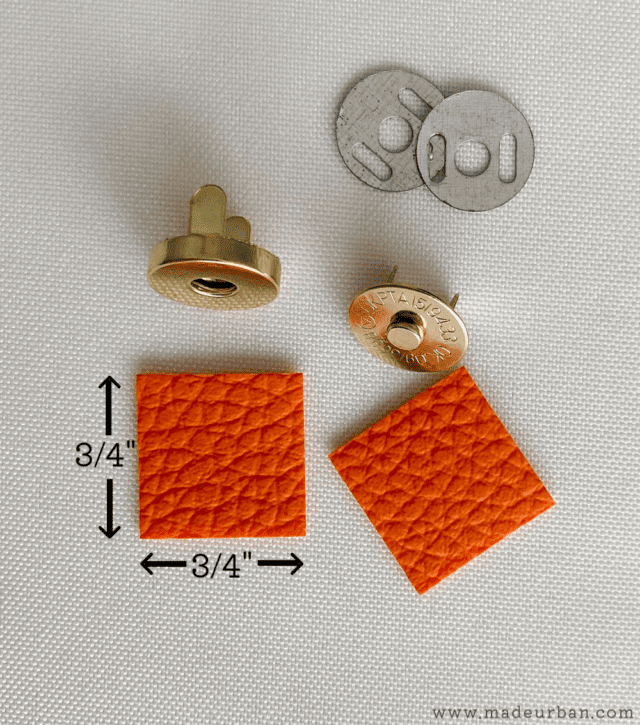
You’ll also need two square pieces of vinyl, which will be backing for your magnetic snap pieces to add more structure. My squares are about 3/4” x 3/4” but you can make them bigger or smaller depending on your magnetic snap size.
Step 2 – Add magnetic snaps
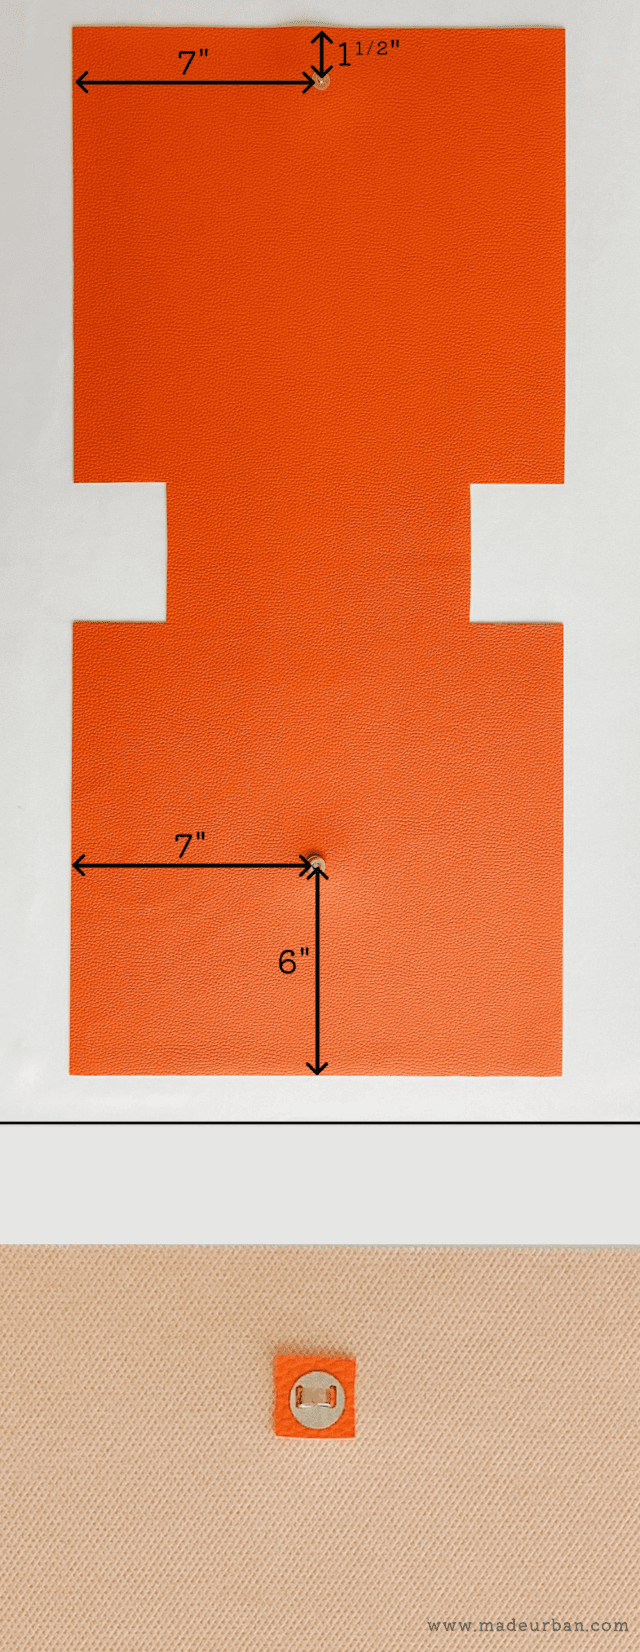
Measure 1.5” from the top of your lunch bag and 7” from the side.
Mark where the magnetic snap’s prongs will go and make a small score using an X-acto knife.
On the end, measure 6” from the top and 7” from the side.
Again, mark where the magnetic snap’s prongs will go and make a small score using an X-acto knife.
Score your two vinyl squares to fit the prongs as well.
Put the top of your magnetic snap in 1.5” from the top.
On the back side of the vinyl, layer your vinyl square over the prongs, then the magnetic snap’s backing piece. Use a hammer and lightly tap to fold the prongs down.
Repeat this for the bottom of the magnetic snap.
Step 3 – Sew lunch bag sides
With right sides together and the top edges lined up perfectly, sew the 2 sides of the lunch bag, 5/8” from the edge.
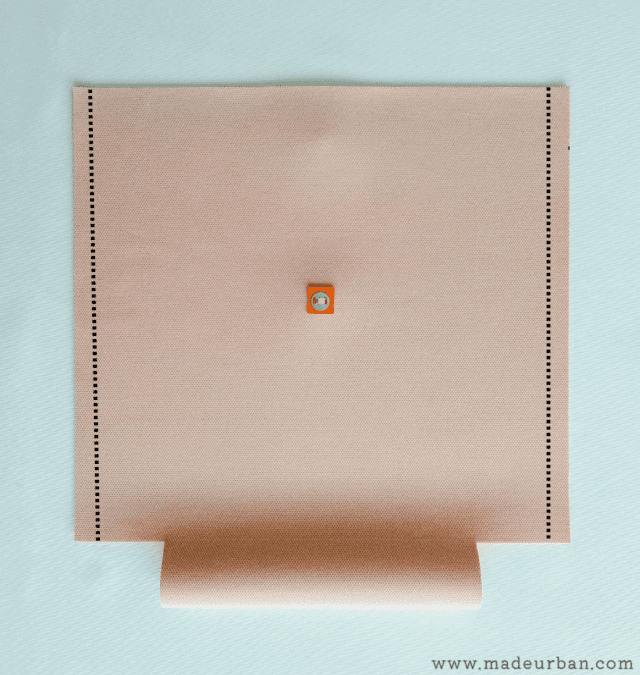
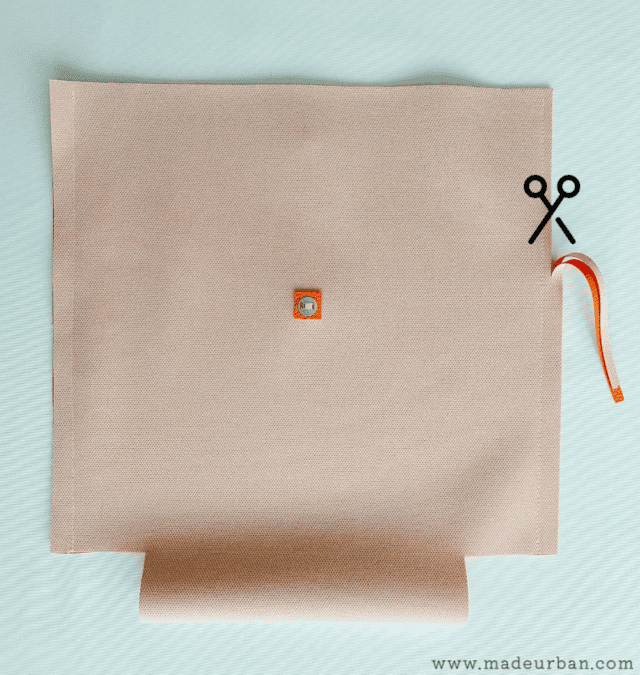
Trim off the excess vinyl.
Step 4 – Sew lunch bag corners
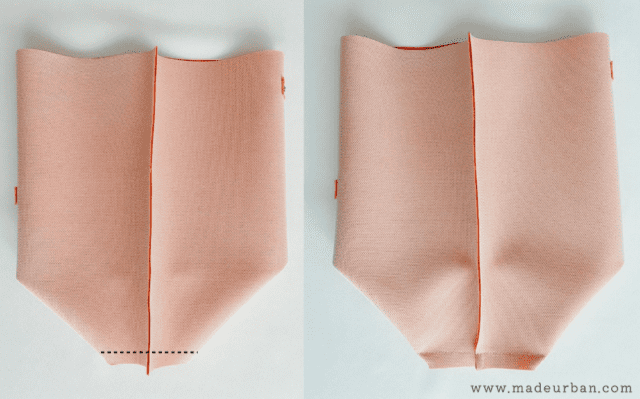
With right sides together still, fold your lunch bag so the side seams line up and the bottom edges line up. Sew the bottom edge to the right side seam, then sew the bottom edge to the left side seam.
Sew the corners 5/8” from the edge.
Step 5 – Sew side folds (optional)
These seams make it easy to fold your bag and press it flat when storing. It also gives it more of a traditional brown paper bag look. But they’re not needed for the bag to be functional, so you can skip this step if you like.
Measure 2.5” up from the corner seam and make a mark on either side of the side seam.
Fold the material from the outside corner to your mark 2.5” up from the bottom corner seam and clip in place.
Sew close to the edge (between 1/8” – 1/16” in from the edge), backstitching at the start and end.
*I increase my sewing foot pressure for this step and use a shorter stitch to help ensure you can’t see the stitches from the outside.
Repeat this on both sides of the side seams so you have a triangle at the bottom of the lunch bag sides.

Step 6 – Top stitch lunch bag edges
Turn your lunch bag right side out.
At the bottom of the bag, measure from the side seam to the corner. Apply that measurement to the top of your lunch bag and fold your vinyl down to the bottom corner and clip in place.
Top stitch from the top of that fold to the bottom corner, 1/8” – 1/16” from the edge.
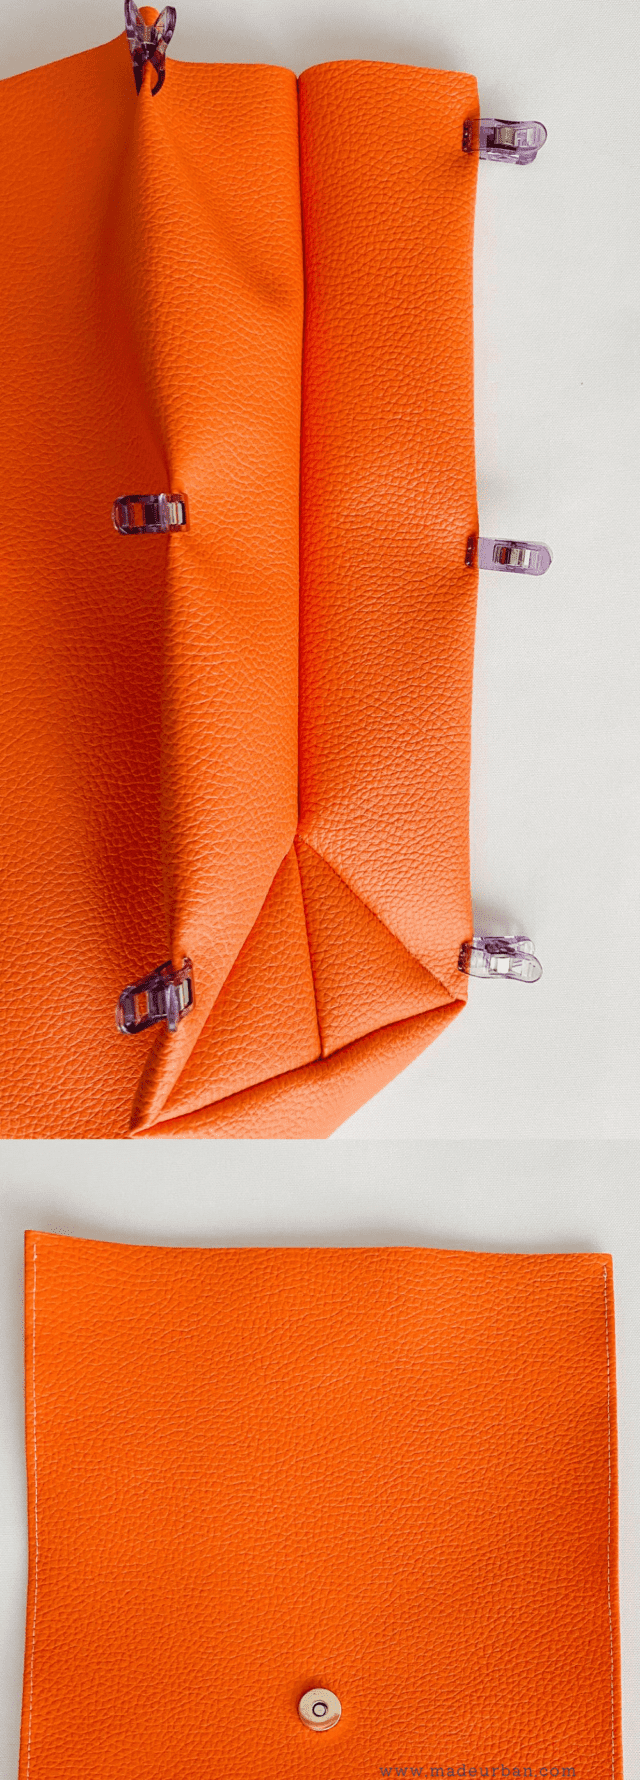
Repeat for the other 3 sides.
This stitching will give your bag a more boxy structure.
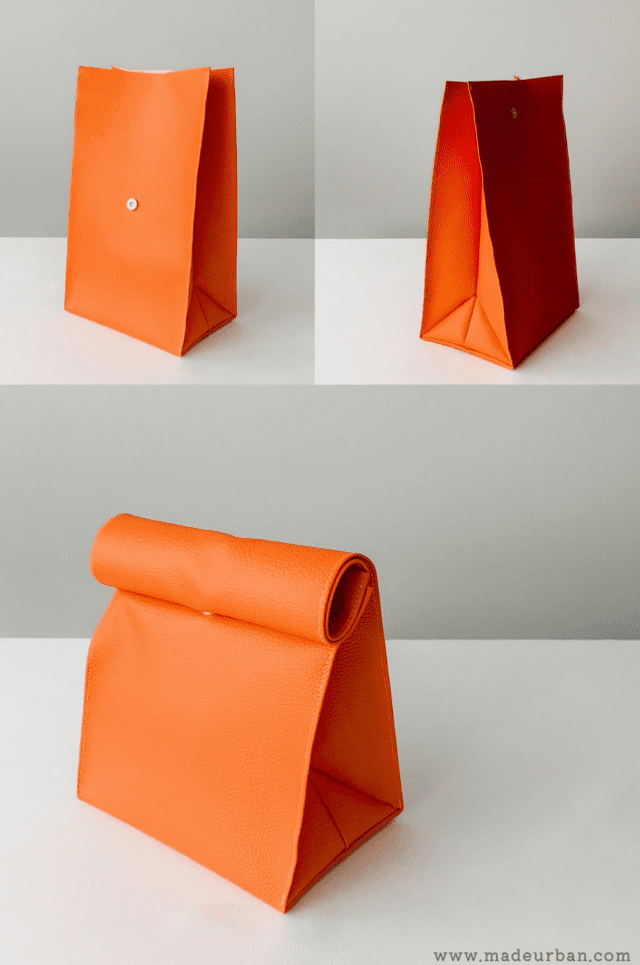
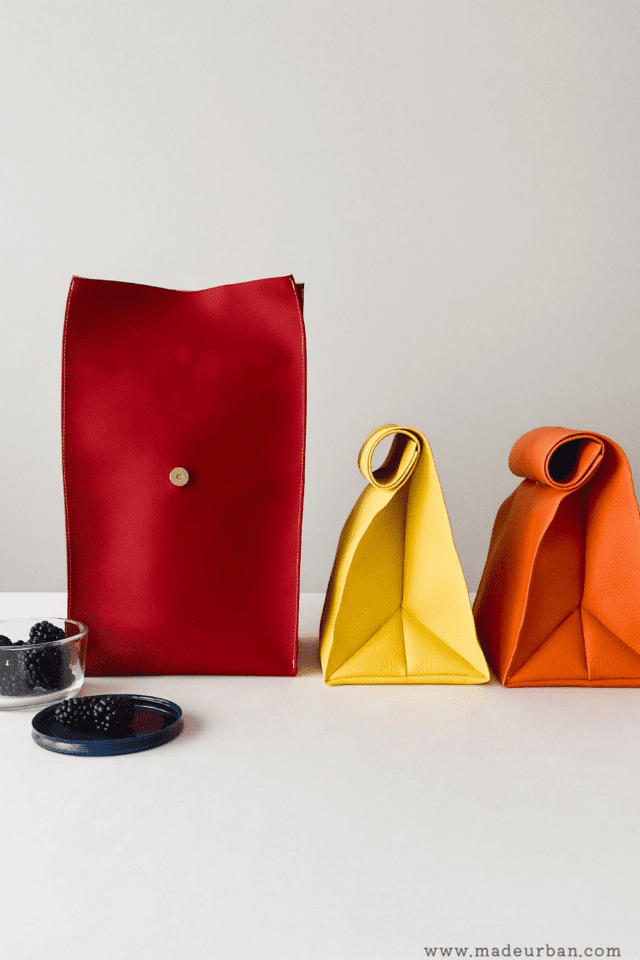
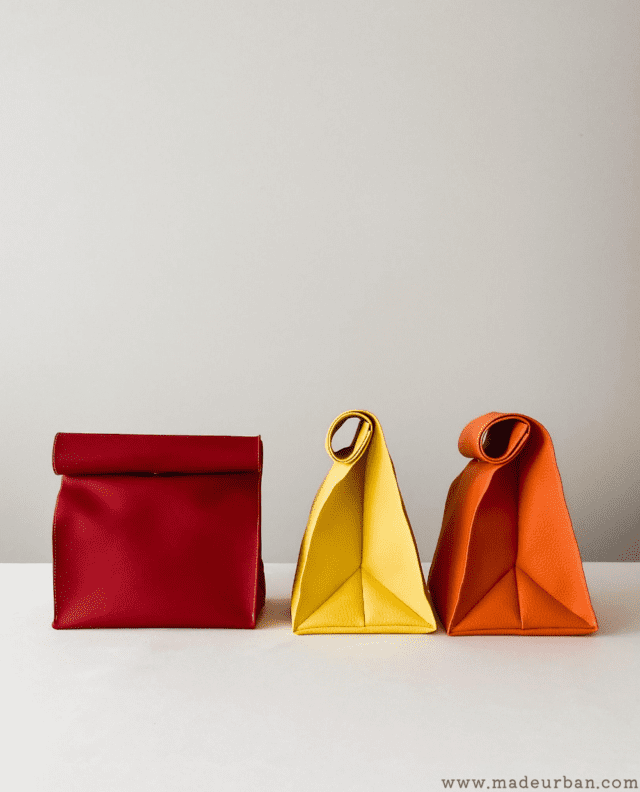
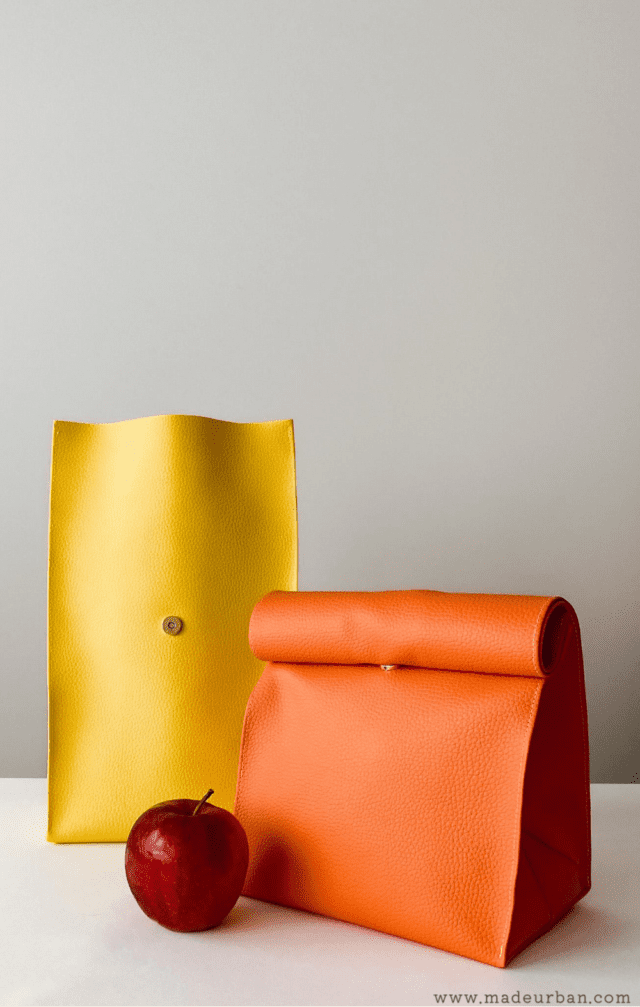
This lunch bag is quick and easy to sew, so it’s a perfect item to make and sell at craft fairs or on Etsy.
There are also alterations you could make to this pattern. For example:
- Use pinking shears along the top to add a zig-zag edge (which gives it even more of a paper bag look)
- Zipper closure
- Button and loop closure
- A strap closure (using a magnetic snap on the end)
- Add pockets
- Add a top handle
- Etc.
If you’re planning to make this lunch bag to sell, here are some of the keyword phrases that have a high search demand and low competition (perfect for selling online). You’ll need to alter the style/design of your lunch bag to fit the search intention.
- “insulated lunch bag”
- “lunch bag for men”
- “women’s lunch bag”
- “freezable lunch bag”
- “cute lunch bag”
- “small lunch bag”
- “backpack lunch bag”
You can see these lunch bags in a craft show display in this article: Want to Stand Out at a Craft Show? Try these Display Tricks
Please let me know if you have any questions!


Hey, I’m Erin 🙂 I write about small business and craft show techniques I’ve learned from being a small business owner for almost 2 decades, selling at dozens of craft shows, and earning a diploma in Visual Communication Design. I hope you find my advice helpful!
